
The Serious Freshening
Go to <Last, Summary, Next>Cooling—Replace Cooling Fan Bearing
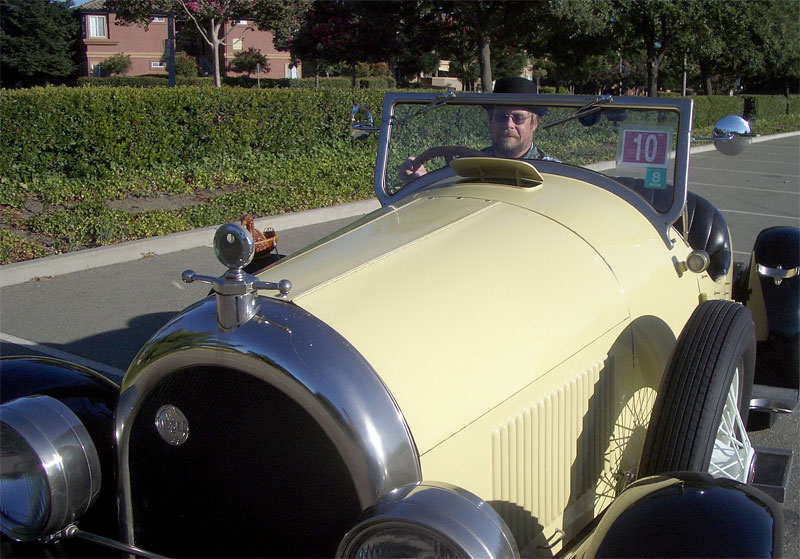 Lynn in Bugsby, September 5, 2005 |
Completed: 2006-04-22 — Started: 2005-12-30
 |
 |
 |
 |
 |
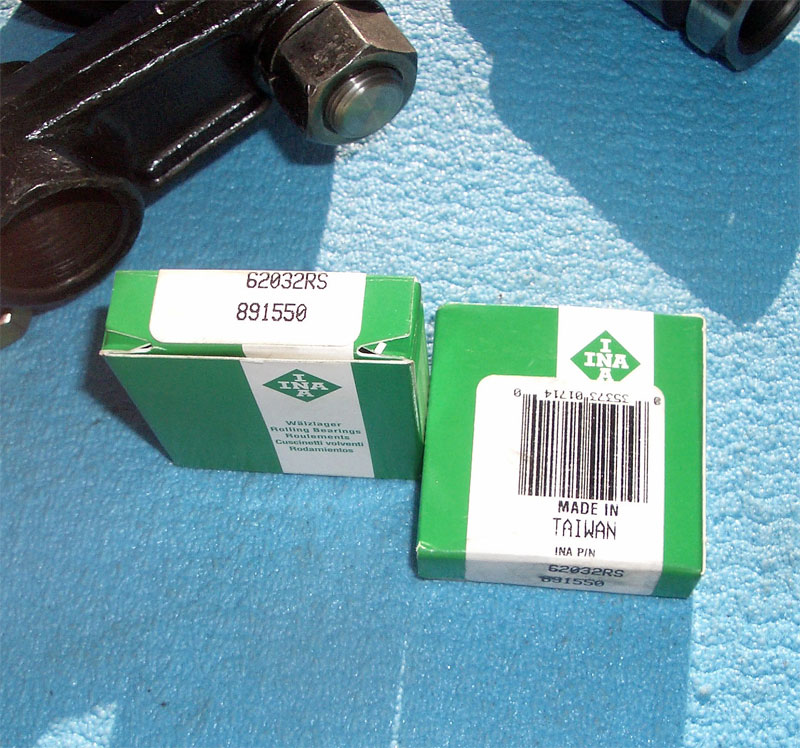 |
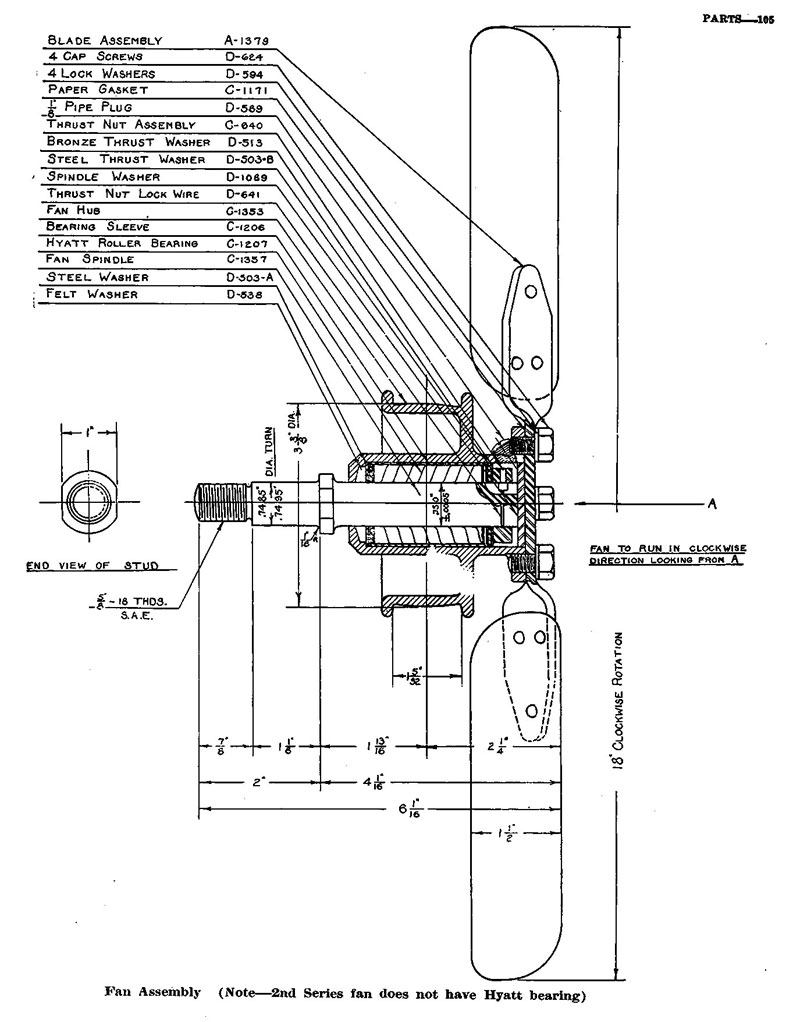
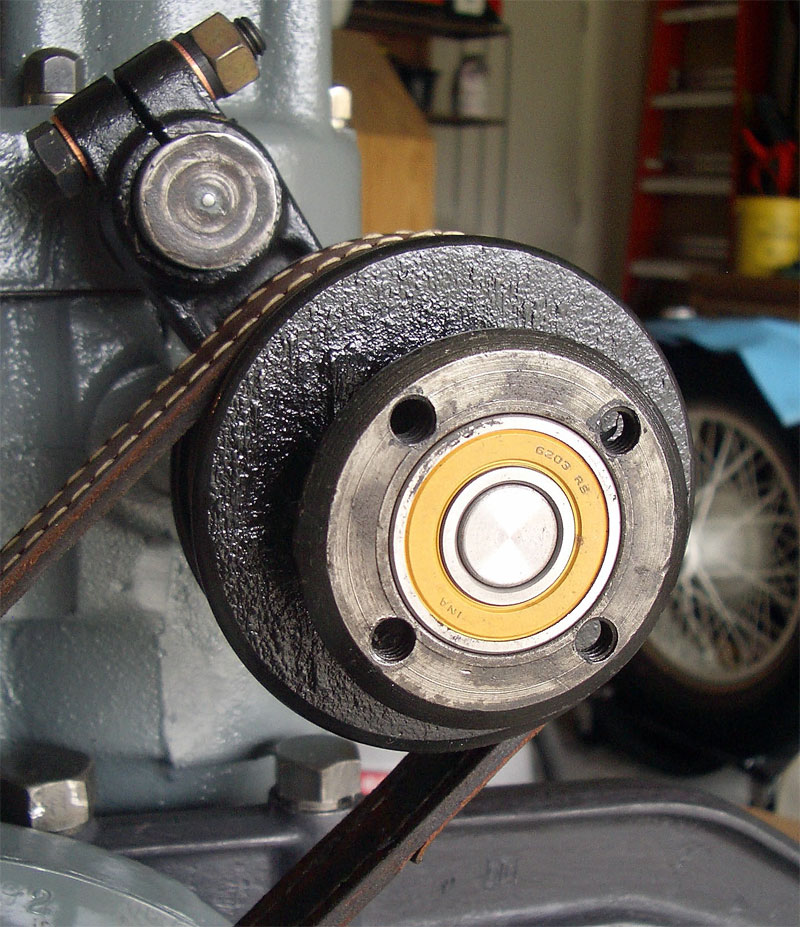
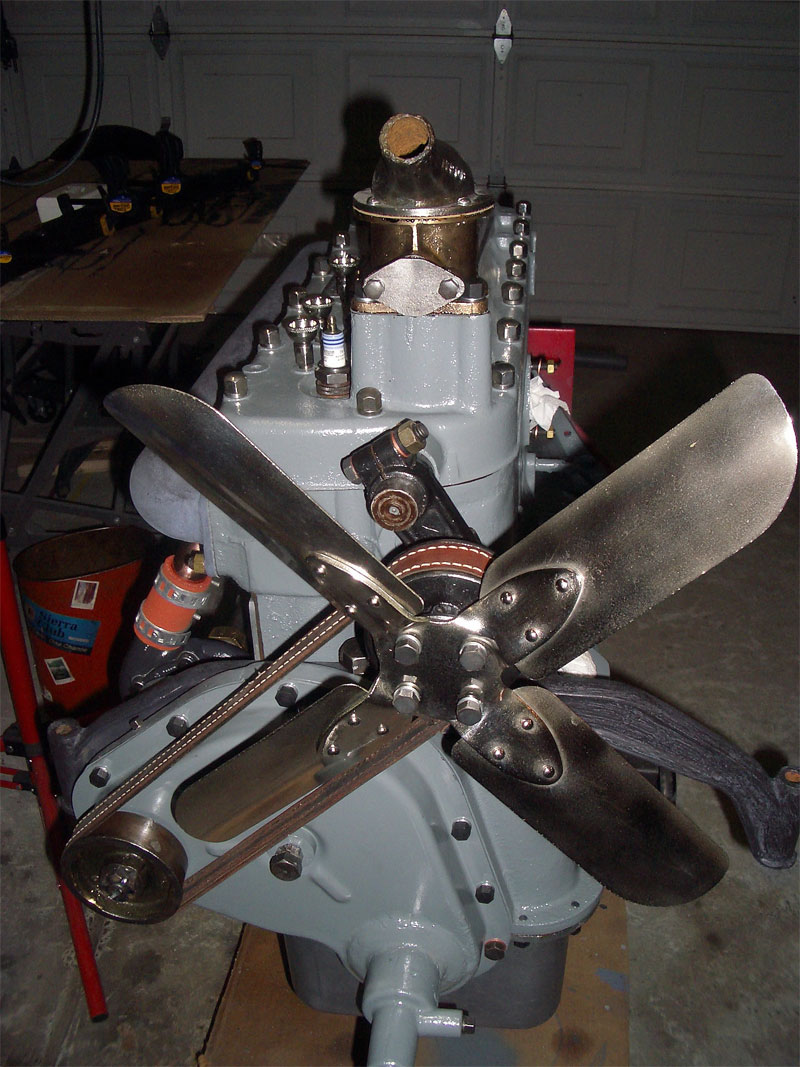
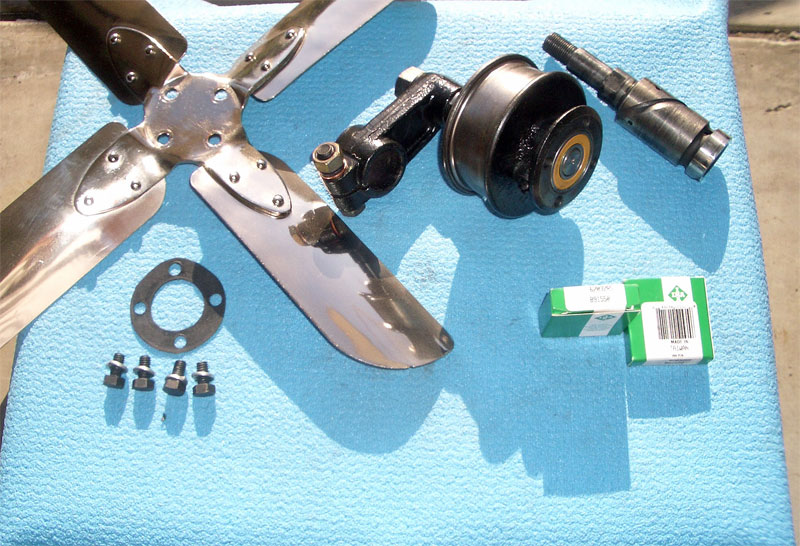
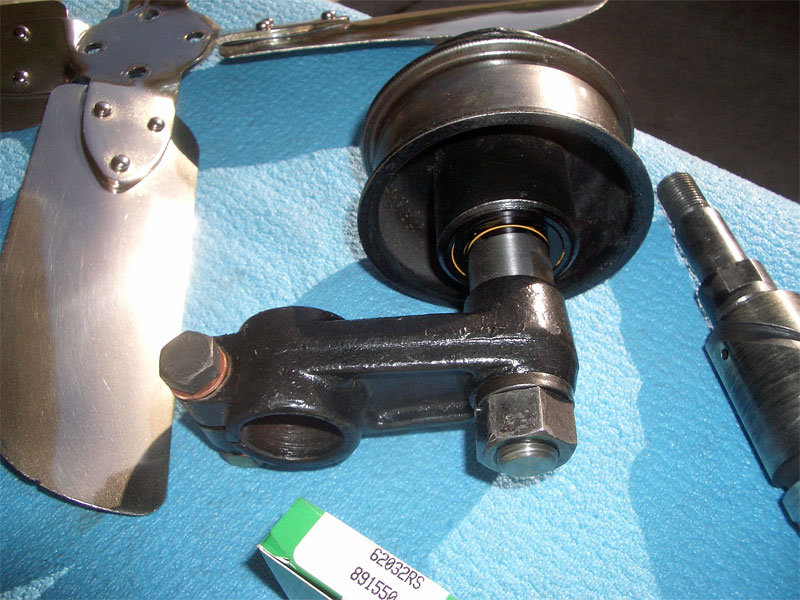
| NEW SHAFT AND BEARINGS: A drawing of the original fan shaft and bearing from Kissel Parts List No. 64 (top left). The new shaft and two sealed bearings when installed on the engine (top middle) are not detectable once the fan is installed (top right). The parts of the new fan assembly and the old shaft are shown (bottom left). The new shaft and two sealed bearings are installed in the fan hub and Lynn uses a black marking pen to conceal the bright plastic seal of the rear bearing (bottom middle). Two extra bearings are ordered in anticipation of future replacement needs (bottom right). |
Work Completed:
The old fan bearing on Bugsby was shot.
It was loose and out of round.
At certain engine speeds the hub would vibrate noisily on the shaft.
When grease was injected into the bearing, it would be thrown all over the interior of the engine
compartment. It was not a good situation.
Initially Lynn was simply looking for someone to replace the original bearing, but it slowly dawns on him to look for someone to install modern sealed bearings on the shaft. After a few inquires, Lynn gets two leads to Earl Minkler, owner and chief machinist at Valley Machine. Lynn asks Earl if he can install new sealed bearings in the fan hub. After a few days of thought, Earl orders four INA 62032RS sealed bearings and proceeds to fabricate a new shaft. Earl uses two of the bearings on his new shaft and gives the other two to Lynn in anticipation of the need for future replacements.
Lynn is really pleased with the result. After using a black marking pen to conceal the bright plastic seal on the rear bearing, the new bearings and shaft are indistinguishable from the original once the fan is installed.
Work Remaining:
None.
Contact
 with your comments or questions
Copyright © 2018 Lynn Kissel
Last updated: May 24, 2009