
Epoxy Wheel Restoration
April 21-28, 2011
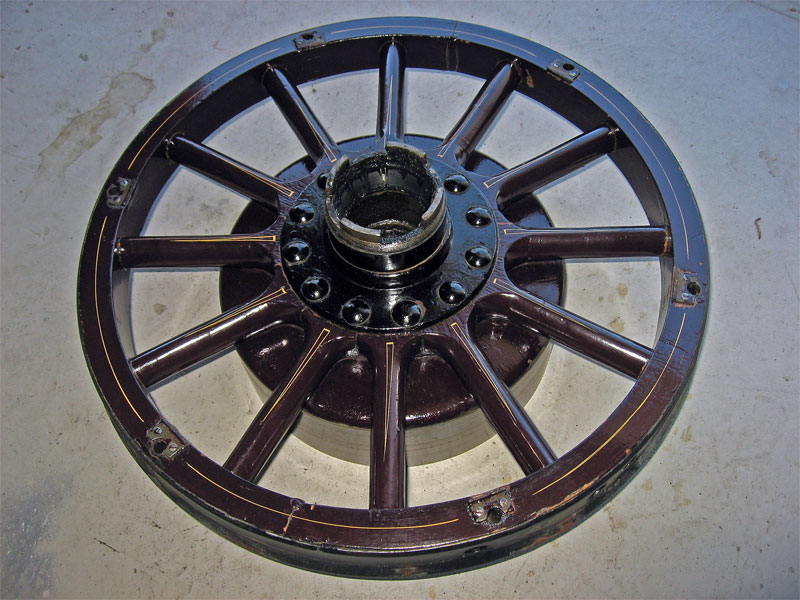 |
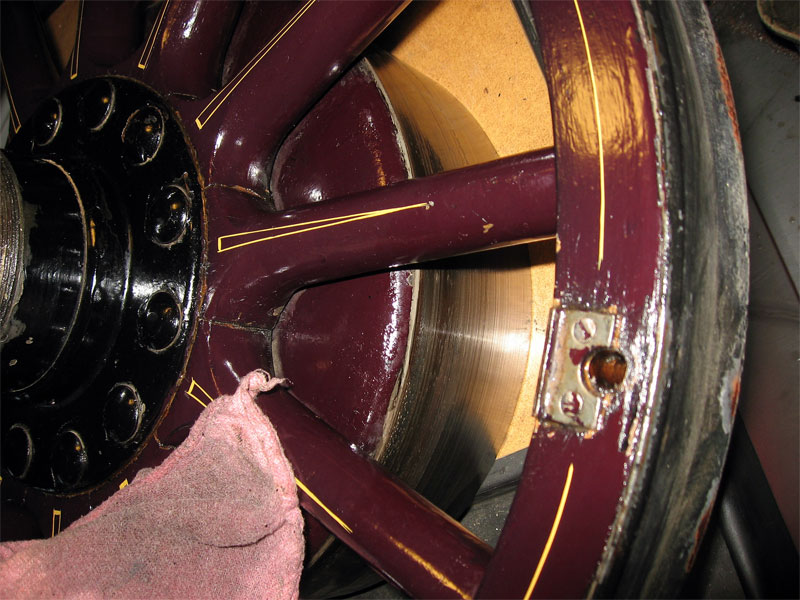
| A rear wheel after using "Git"-Rot epoxy to repair cracks, seal seams and create a clear-coat finish. |
Lynn has been concerned about Annie's nearly 100-year-old wheels since he started using the car in 2009. At a slow roll the wheels make creaking sounds. Lynn's wife Jeanne says that it sounds like castanets.
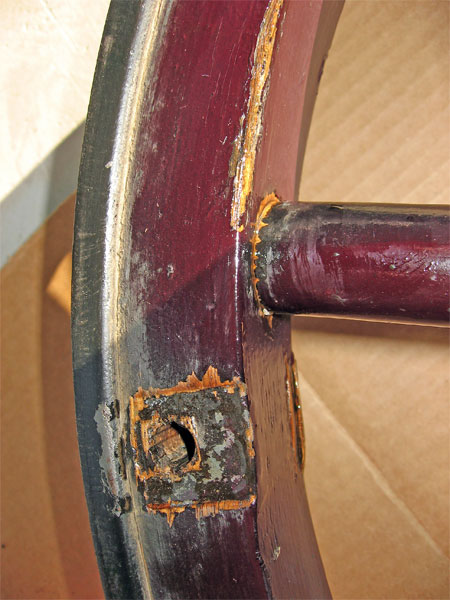
Close inspection of the wheels do not reveal any major cracks in the wooden spokes or felloes and nothing is loose if tugged on by hand. One can see that the paint has chipped away from most of the seams (where the spokes mate with the felloes, or where the spokes touch each other near the hub) so it's clear that the wood is loose enough to move and "work" when under a load.
Unsure about their ultimate safety, Lynn has been planning to replace the wheels and starts to collect information about people who could do the work. When he mentions his plans of rebuilding the wheels to fellow horseless carriage owner Ed Archer, Ed strongly discourages this idea. Ed tells Lynn that he's had wheels fail after they've been rebuilt. Ed attributes this more to the wood than the workmanship. He feels that the wood available today is not the same old-growth hickory that was available one hundred years ago. Instead he recommends that Lynn talk with Tony Wolleson who has discovered just the right way to restore wheels using epoxy.
 |
 |
||
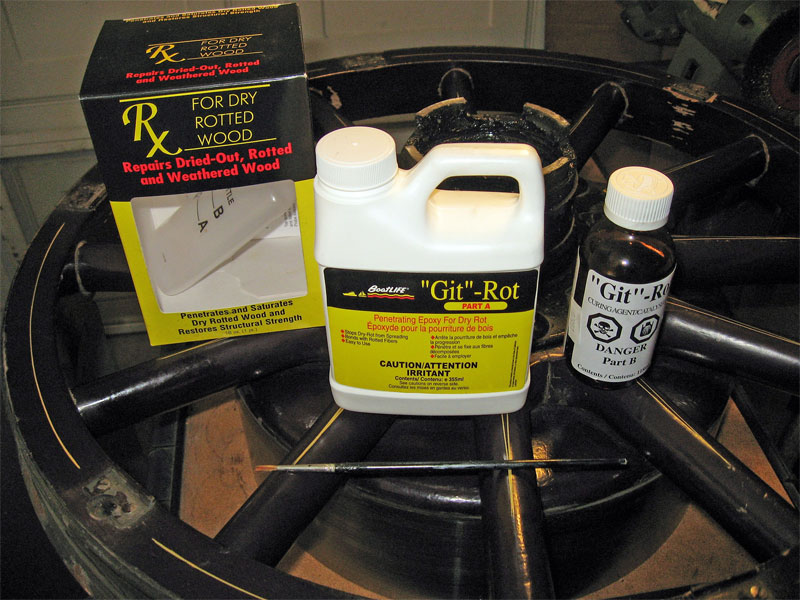
| A 16-oz. package of "Git"-Rot epoxy (left) and the technique of using a small artists brush to apply epoxy to the seams (right). | |||
Taking Ed's advice, Lynn contacts Tony. Lynn expresses some skepticism, having read somewhere that epoxy is not a good solution. Tony's response is that people haven't been using the right epoxy and tells Lynn about penetrating epoxy and a particular brand called "Git"-Rot. He outlines a procedure for doing the repair that includes the following important points.
- Remove the wheels from the car and tighten the hub bolts that hold the spokes
- Make sure that the wheels are straight and run true when spun on the axle
- Clean and thoroughly dry the wheels
- Apply the penetrating epoxy to all the seams and cracks. This requires repeated application before the epoxy hardens. Initially, the epoxy has a water-like consistency. When first applied, it slowly "wicks" into the cracks. After some 10-30 seconds, one can see that the epoxy has soaked in and more epoxy can be applied to the seam. The drill is that for about 20-30 minutes one repeatedly applies the epoxy to every seam and defect on a wheel until no more epoxy is taken up or until it finally starts to set.
- With a paper towel, wipe off any drips before they harden.
 |
 |
||
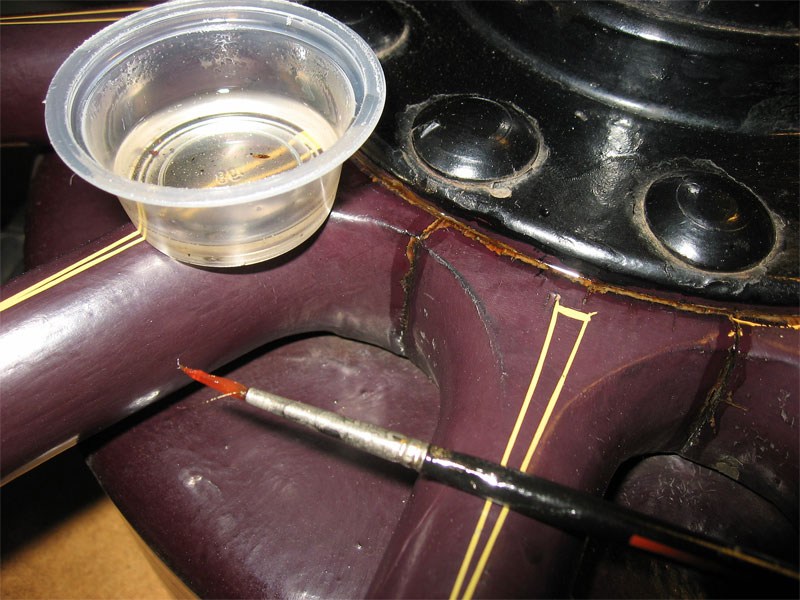
| Using the artist brush, epoxy is repeatedly applied to all seams, any cracks, exposed wood and the inside of the lug holes. | |||
Lynn is convinced enough by Tony's description that he acquires a 16-oz. package of "Git"-Rot. He finds it multiple places with a search of the internet but successfully orders it from West Marine. Lynn applies it to the wheels when they are off the car. He uses a small artist brush to easily apply it to all the seams, joints, cracks, bare pieces of wood and to the interior of the lug holes. It takes him about an hour to do one clean and dry wheel. (He cleans the brush in alcohol.)
 |
||||||
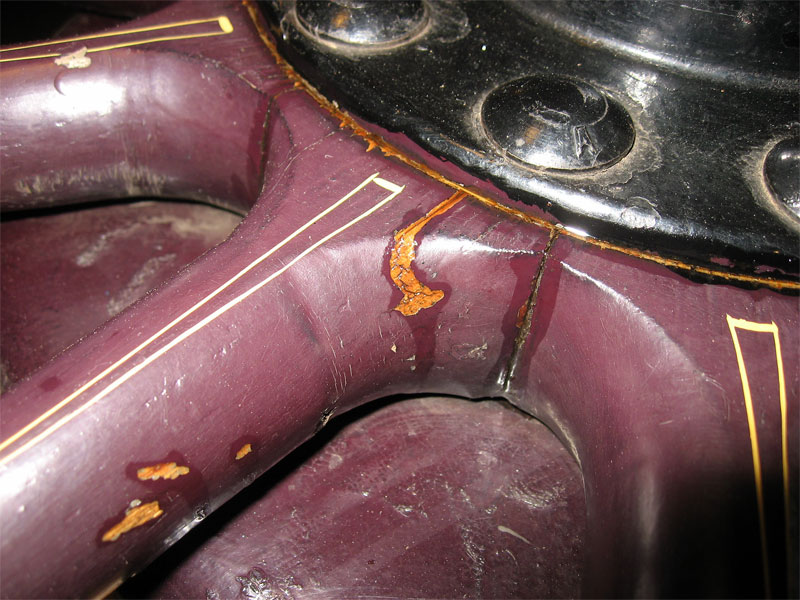
| A small amount of epoxy on a shop rag is used to wipe-down the wheel surface, creating a clear-coat finish. | ||||||
Lynn had intended to repaint the wheels after he was finished with the epoxy repair. However, as he is cleaning up the drips with a paper towel, he notices how much better the paint near the seams looks after it has been coated with the epoxy. The paper towel is leaving a lot of lint so Lynn switches to using a shop rag to do the clean-up.
As an experiment, he dips the rag in some epoxy and coats the whole wheel with a thin coat. Wow! The wheel looks great! In fact, the epoxy has also darkened the exposed wood making the defects much less noticeable. The end result is that Lynn decides not to bother repainting the wheels at this time.
As of June 1, 2011, Annie has now been on three multi-day tours since the epoxy repair to the wheels. They run quiet and haven't shown any adverse behavior. (It may just be Lynn's imagination, but the car seems a little more "quick" or "lively" in response to defects in the road surface. Lynn imagines that the wheels are now somewhat less flexible and more rigid leading to this subtle change in behavior.)
Tony suggests that Lynn continue to observe the wheels. Over the course of time, seams may open up or new cracks appear. In that case, Tony suggests that Lynn just apply some more epoxy.
It appears to Lynn that he has avoided a very expensive repair and if Ed and Tony are to be believed, the repair might be better than if he had replaced the wheels. Lynn suspects that Annie's wheels were basically sound and that he's merely frozen the movement of the wood in the wheel. He hopes that this effort may prevent further deterioration of Annie's wheels.
This epoxy wheel restoration technique may not be appropriate for all problems. Naturally, you are free to use this technique on your own wheels at your own risk.
Contact
 with your comments or questions
Copyright © 2018 Lynn Kissel
Last updated: June 1, 2011